Transport Fever 3 Bus and Tram Guide: City Passenger Networks
Set up bus and tram networks in Transport Fever 3: read passenger demand, wire the district cycle, add bus lanes, connect towns intercity and upgrade to trams.
FAQ
How do passenger lines work in Transport Fever 3?
Where do I see which towns passengers want to visit?
Which bus stats matter inside a city?
Do buses overtake each other in Transport Fever 3?
How are tram stops different from bus stops?
Why did my reputation drop after upgrading streets?
Should an intercity stop go inside the residential zone?
Passenger transport is where Transport Fever 3 stops being a freight puzzle and becomes a city planner’s game. Every resident is simulated with a home, a workplace and a shopping street, and your lines only earn when they connect the three. This page follows one complete build from a 242-person desert village to a town with skyscrapers, a bus lane grid, an intercity line and its first tram — every step from the video, every screen verified against the game.
Read the town, place the loop
-
Read the town window before the first stop
The town window is the brief. Supplies lists the goods a town is missing, the two passenger buttons at the bottom name the towns its residents want to reach, and the district chart splits residential from commercial and industrial.
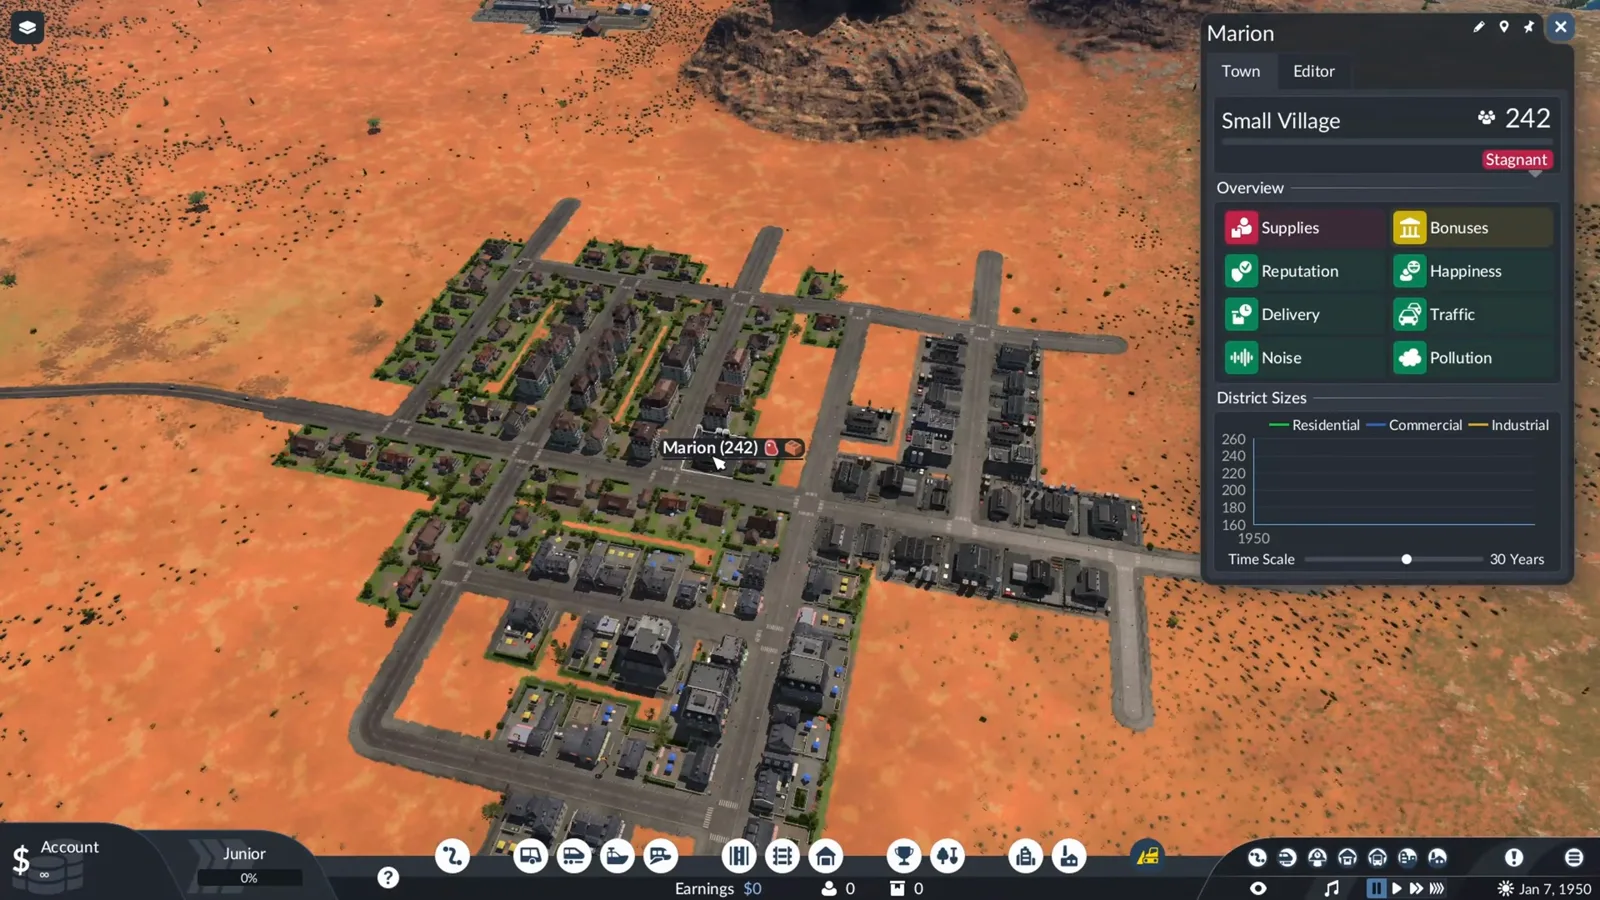
Population, supplies and district sizes on one panel. Watch this step at 0:20 -
Give the fleet a depot with a maintenance circle
Every road vehicle spawns from a depot, and the depot carries a maintenance circle — this one reads 0 of 12, meaning it services up to a dozen vehicles that pass through. Extra maintenance depots can slot in later without building a full depot.
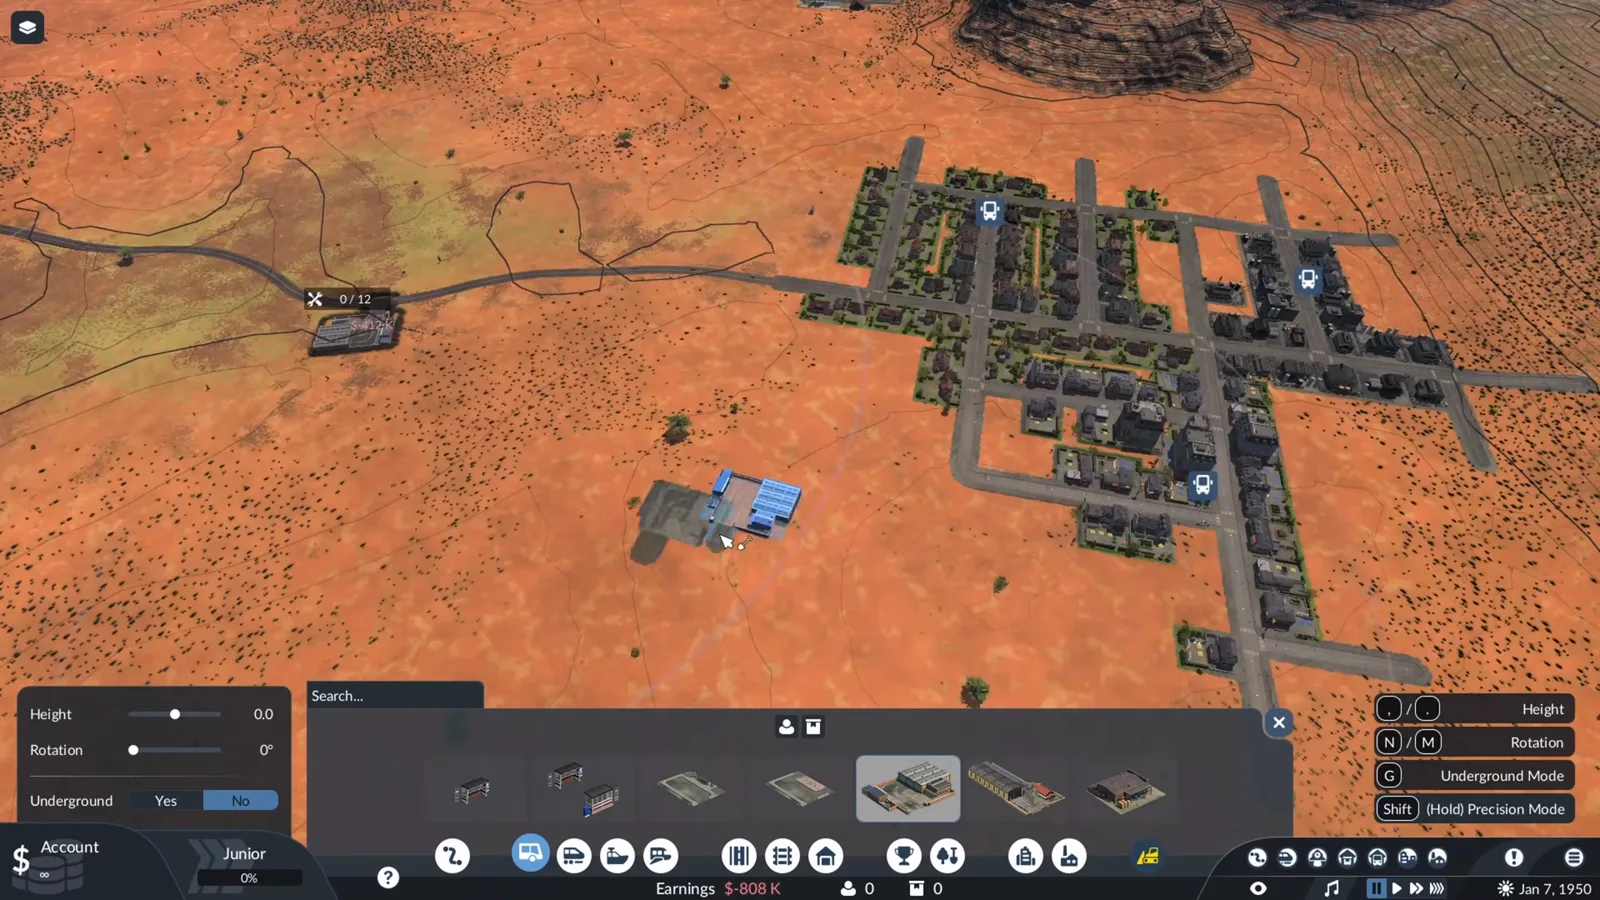
Twelve vehicles can call this depot home. Watch this step at 2:14 -
Open the line manager and start the loop
Press L for the line manager and create a new line. The route follows the passenger cycle: a stop in residential, then industrial, then commercial, so a rider can live, work and shop on one ticket.
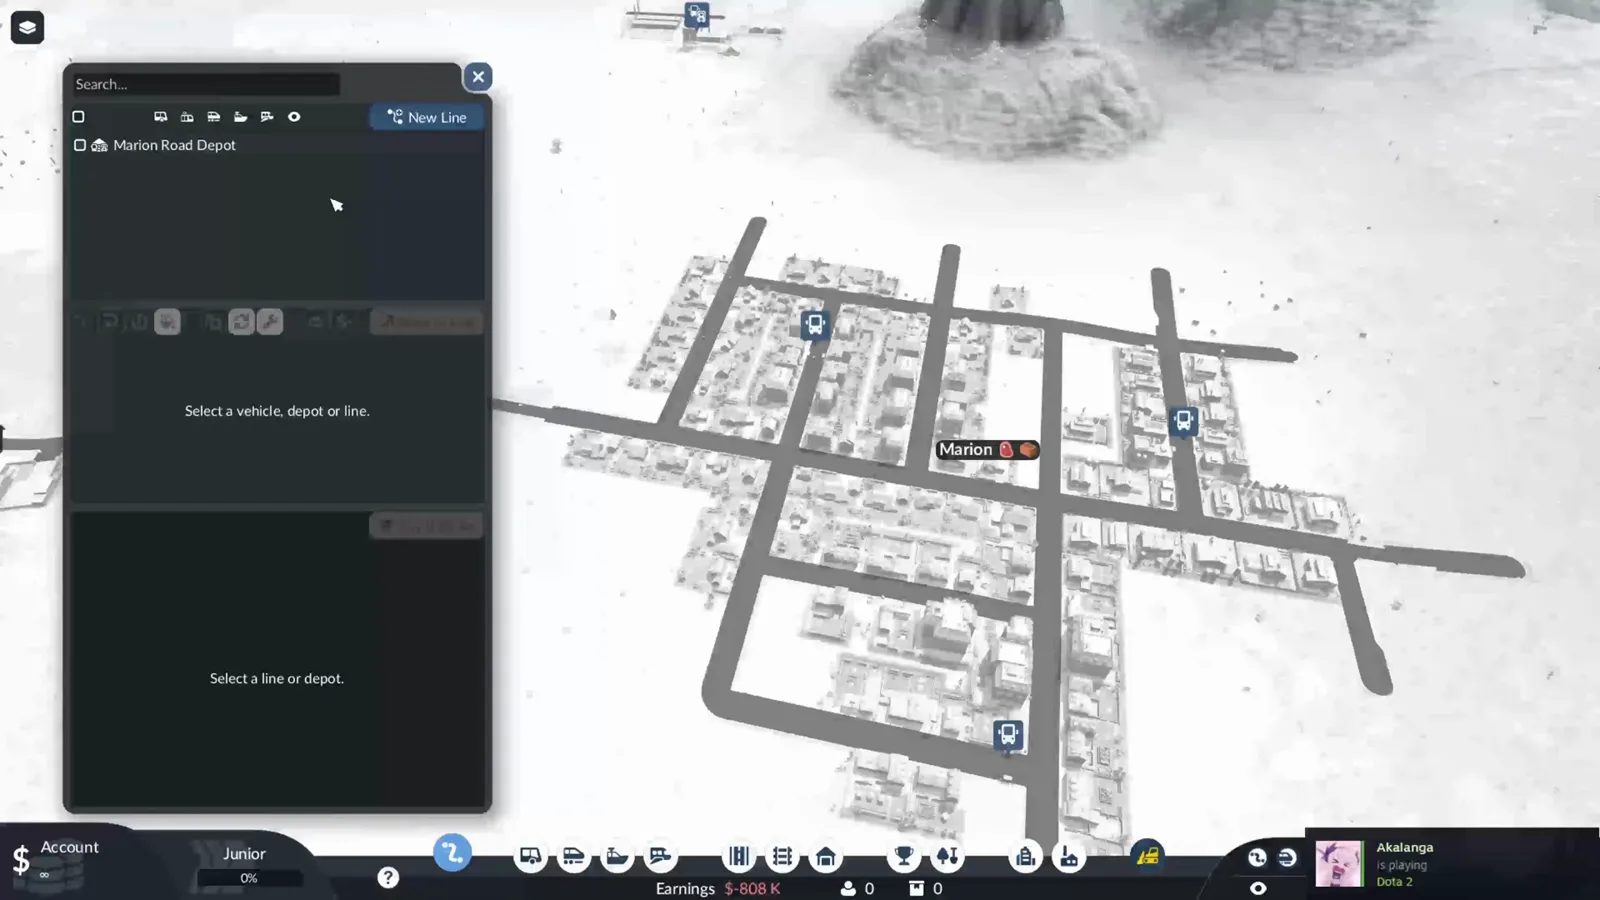
One new line, waiting for its first stop. Watch this step at 2:42 -
Aim double-sided stops and let them alternate
The video uses double-sided bus stops, picks the approach direction with the arrows, and the Terminals panel lets the far side act as an alternate platform — if one side queues, the next bus uses the other.
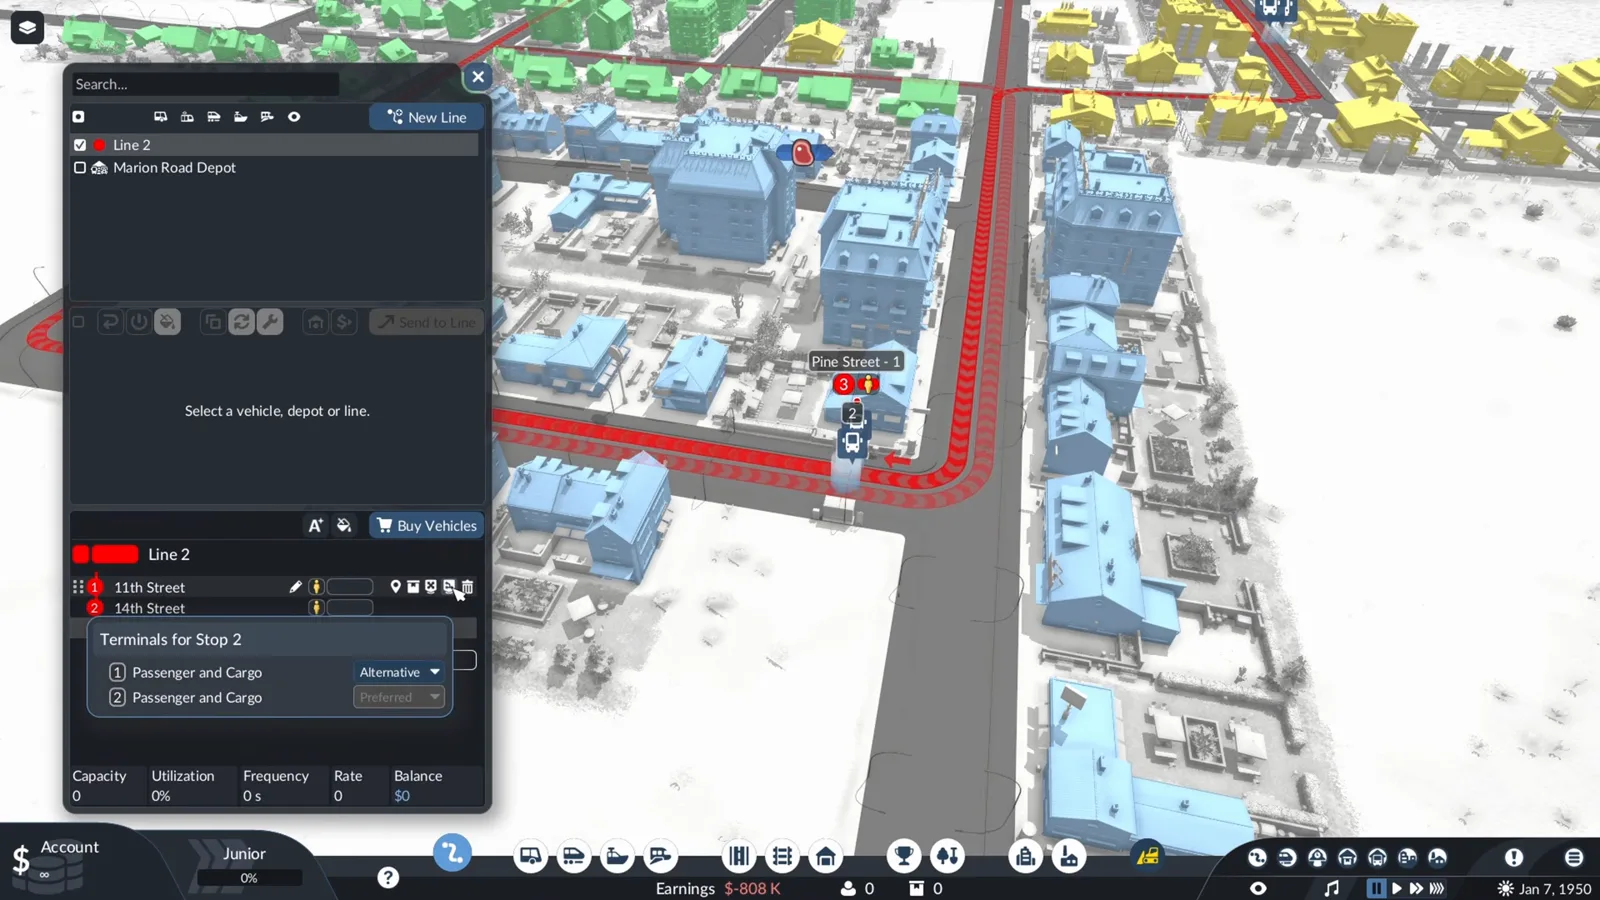
Preferred side first, the other side as fallback. Watch this step at 3:46 -
Close the loop and label it
The last stop closes the cycle back at the first district, and the finished circuit shows as a closed loop on the map. Renaming the line to an intracity passengers label keeps the manager readable once more lines arrive.
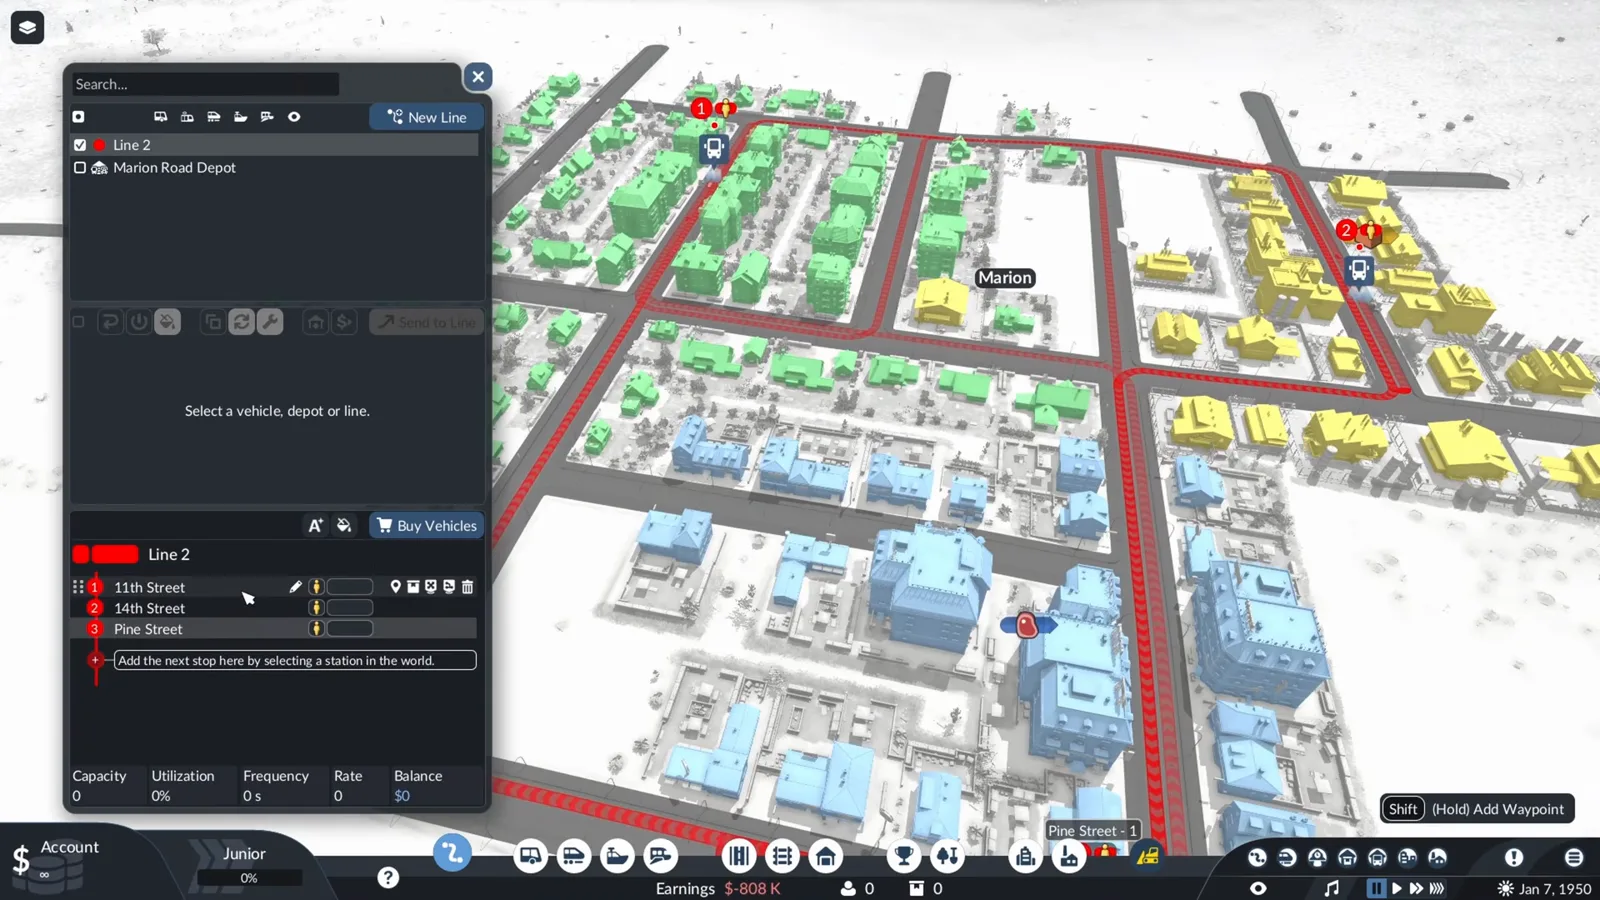
A closed circuit serves every district on one fare. Watch this step at 3:58
The town window does the market research: the passenger buttons are literally a list of towns asking for service, and the district colors tell you where the loop has to reach. Depot first, then the line, then the stops — the same order as the first road line in the beginner guide, but with passengers the cargo is picky about noise.
Buses, bus lanes and following the money
-
Buy buses that fit the city
Intracity rides are short, so the walkthrough shops for low noise and low pollution and lets comfort be poor. The Saurer Thiacher card lists exactly those bars before you commit.
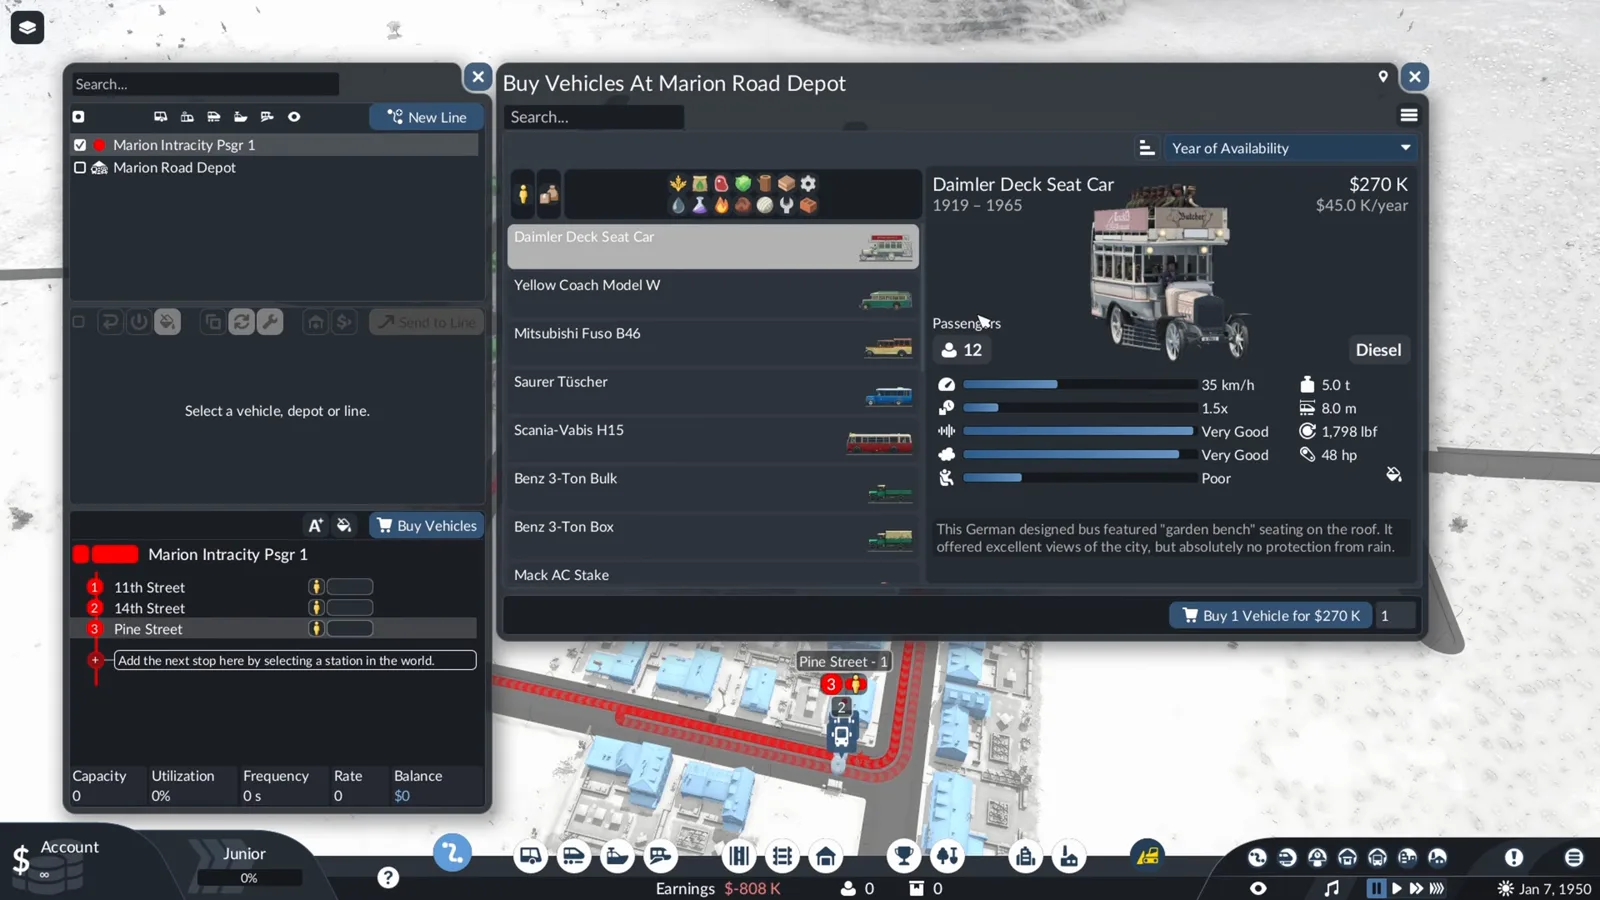
Noise and pollution first; comfort can wait. Watch this step at 4:50 -
Follow the first bus in its own window
The vehicle window tracks load, noise, pollution, condition and the balance chart of one bus. Buses do not overtake in Transport Fever 3, so a queued stop shows up here as a stalled run long before the passengers complain.
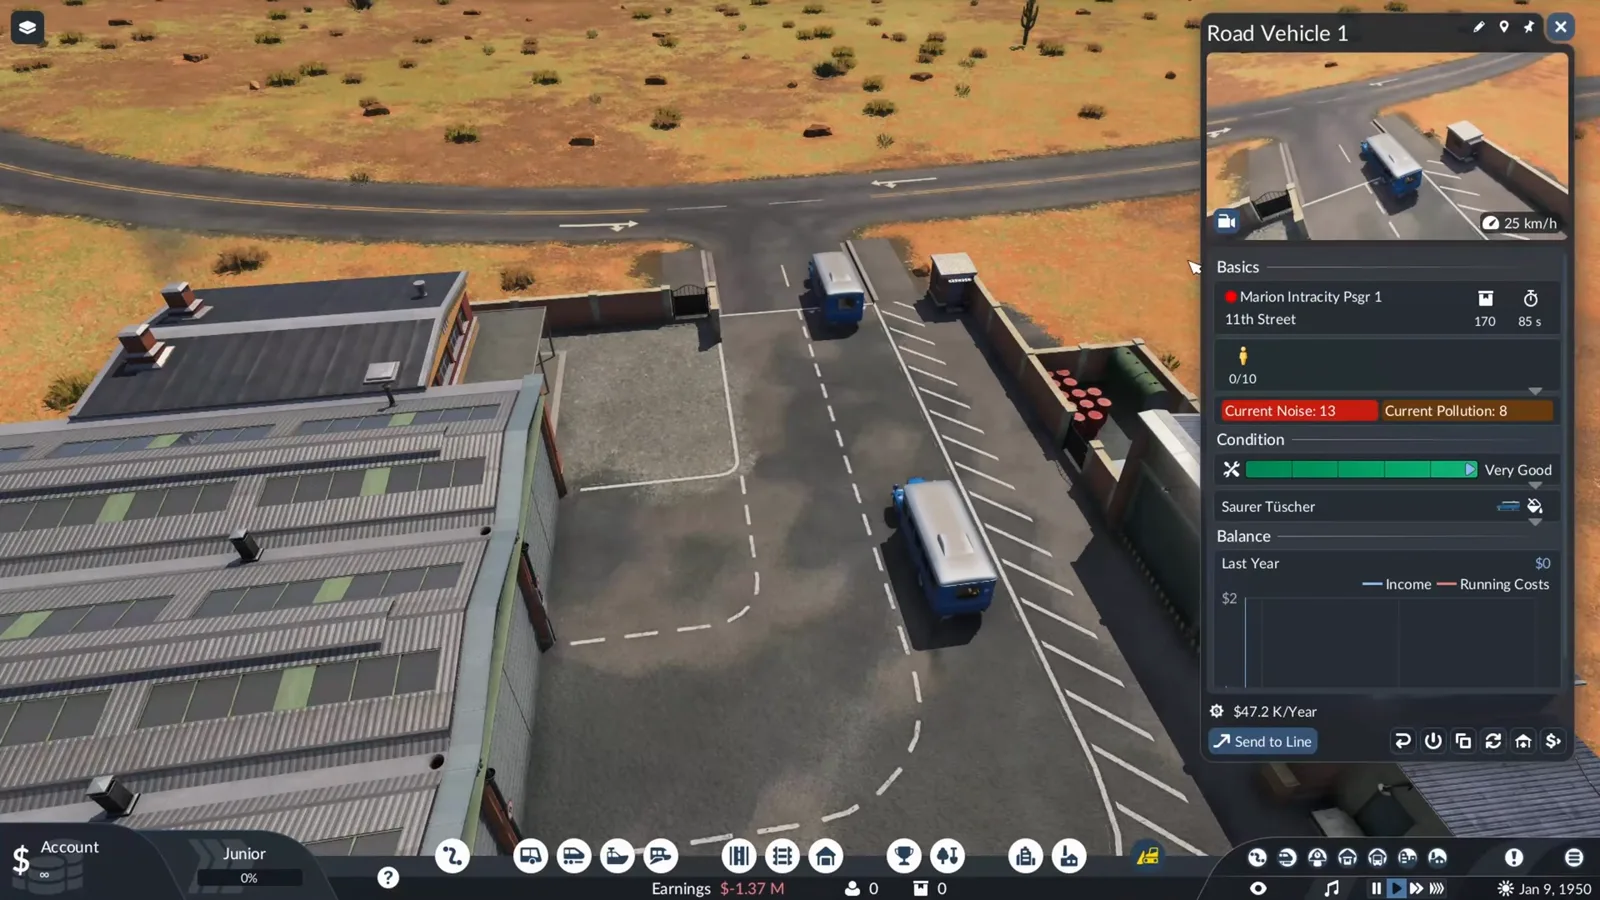
One window tells you load, noise and earnings at once. Watch this step at 5:20 -
Pre-widen streets into bus lanes
The road tool replaces existing streets, and upgrading to a medium street with bus lanes costs less reputation now than after the town densifies — the tooltip warns that buildings will be moved and reputation will dip.
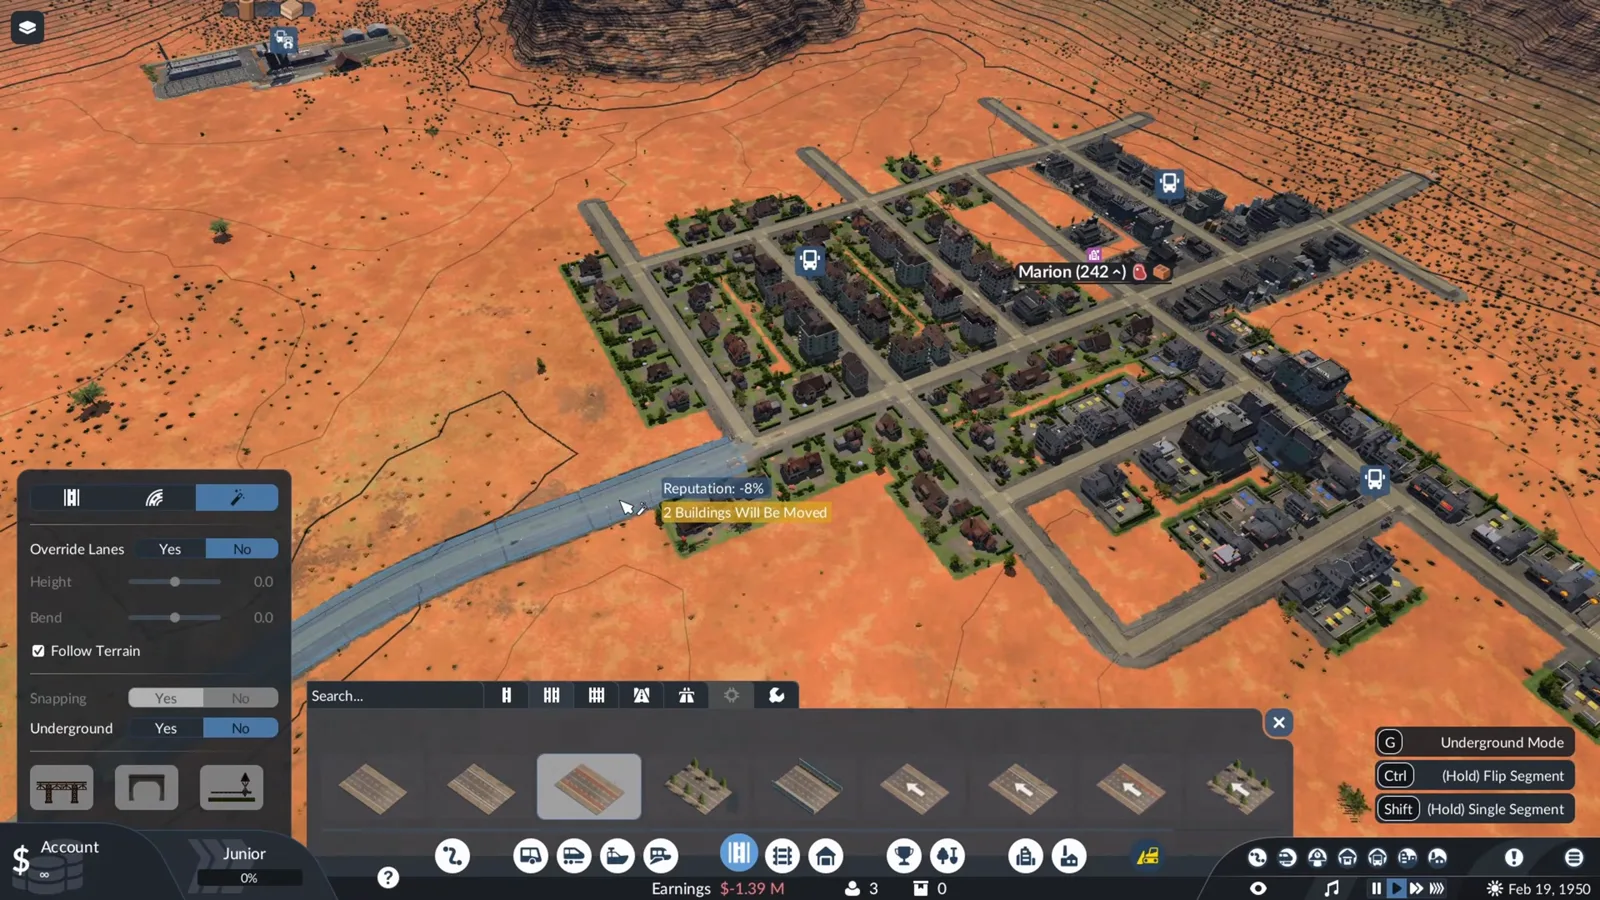
Cheaper to widen the street before the town fills it. Watch this step at 7:05 -
Put the intercity stop where two districts meet
Intercity riders want the commercial and industrial zones, so the new stop sits on a pre-built road that touches both. Roads placed early also pre-plan the town — the streets grow around them.
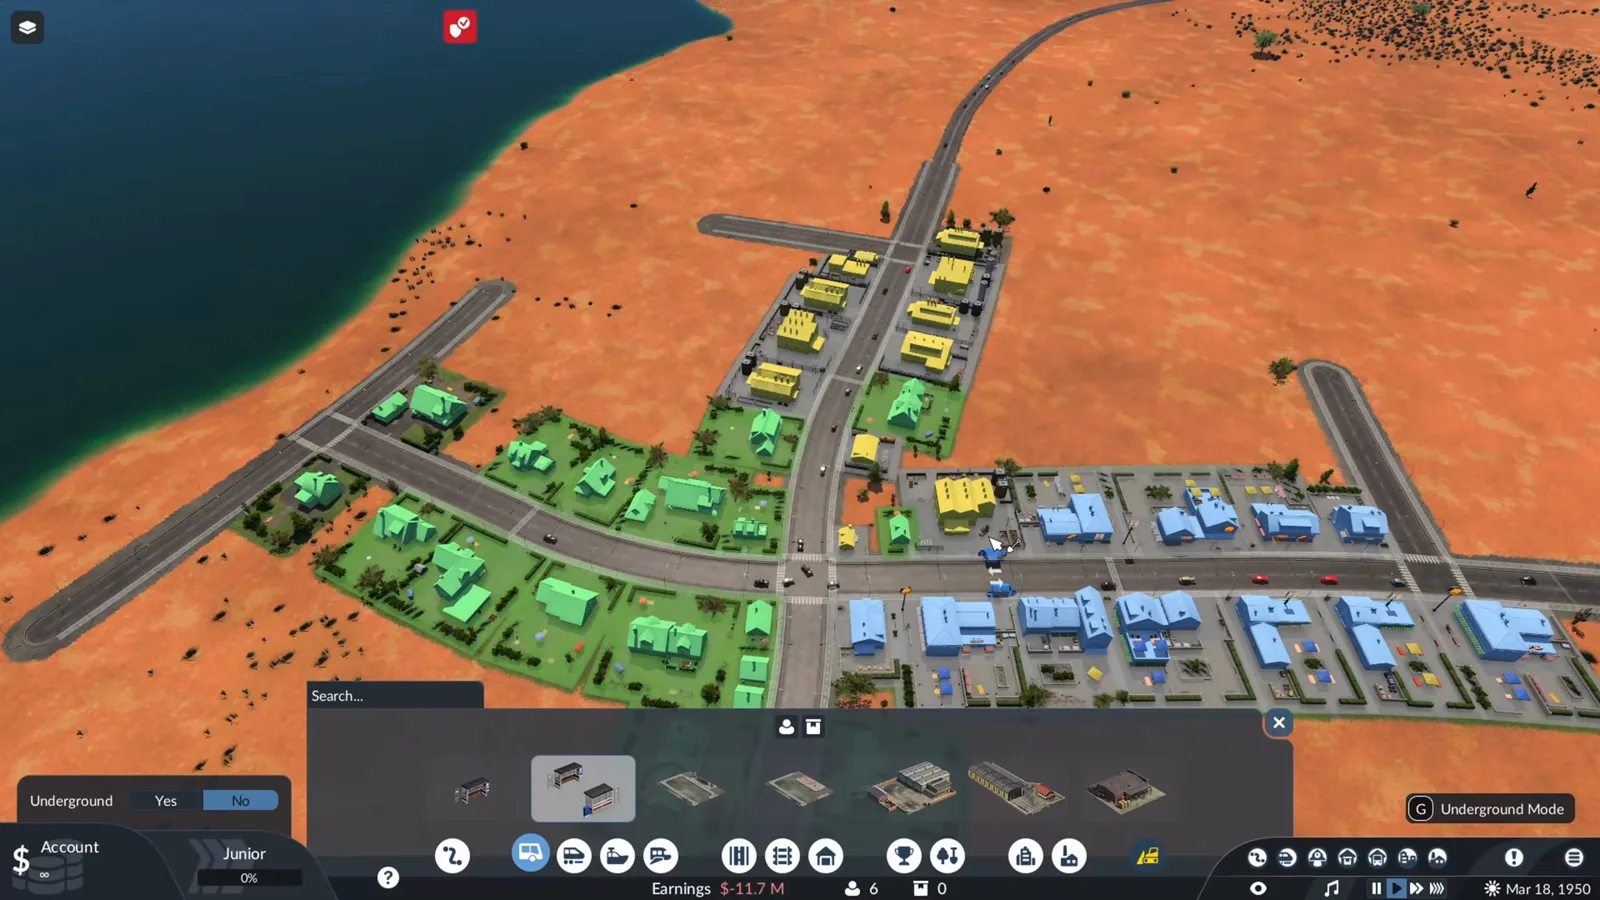
One stop can catch two districts. Watch this step at 8:55
Intracity shopping is a two-stat problem — noise and pollution — because these vehicles live and park next to bedrooms. The vehicle window is the honest verdict on each bus, the same habit the first-train walkthrough drills: follow one vehicle through a full cycle before judging the line. When the queueing starts, bus lanes laid early are the cheap fix; laid late they cost reputation you will miss.
Intercity and the tram upgrade
-
Route intercity lines around the town edge
The new line sticks to the town boundary instead of cutting through bedrooms — a waypoint holds the route outside the residential zone, keeping through traffic and its noise away from the streets that score your reputation.
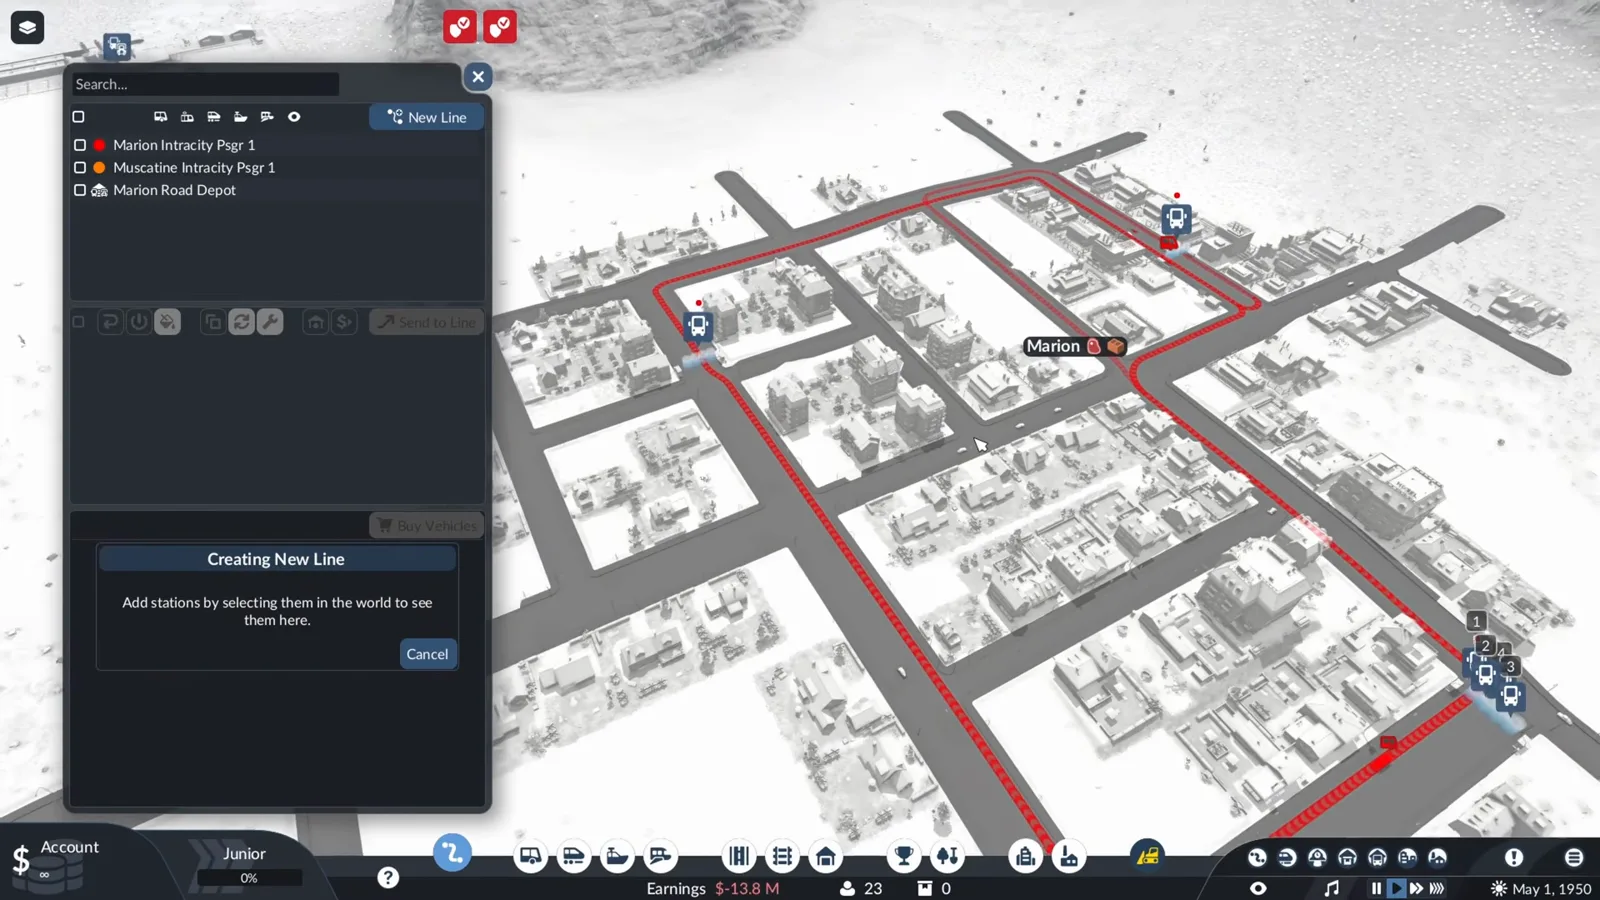
Skirt the bedrooms; the route still serves the town. Watch this step at 11:47 -
Buy bigger buses for the long haul
Intercity flips the stat priority: capacity and speed matter, and comfort earns its keep on longer rides. The Scania-Vabis H15 card shows all three next to its diesel price before the two buses join the line.
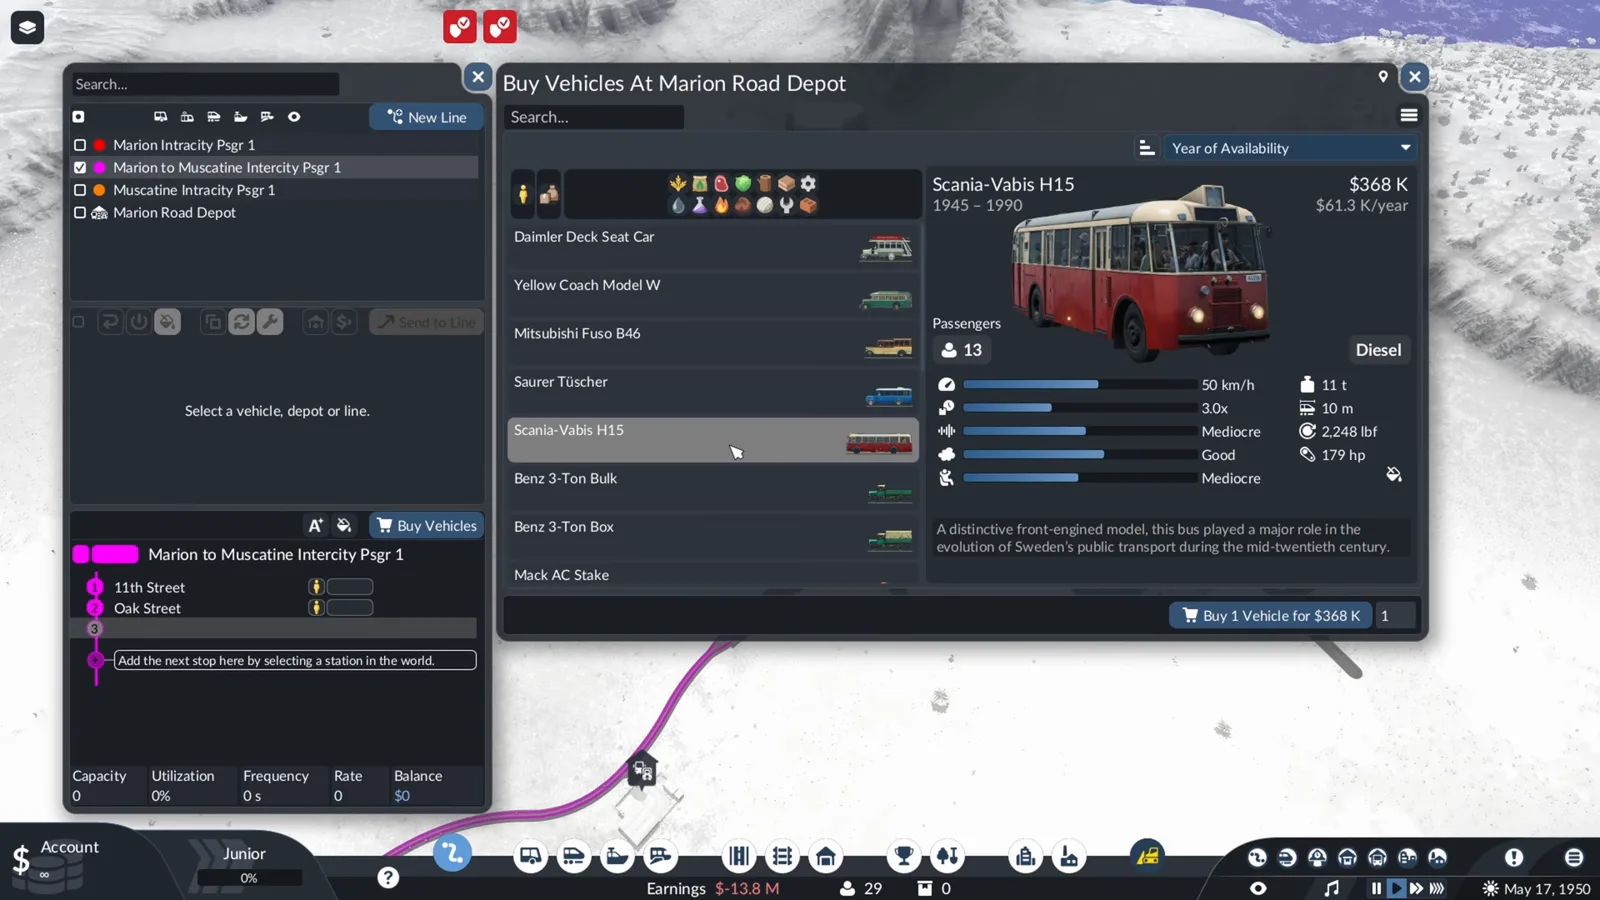
Capacity, speed and comfort — the long-distance trio. Watch this step at 12:42 -
Upgrade streets to tram track
Trams ride rails laid into the street, so the same road tool re-lays chosen streets with tram track. Once the town passed 500 population, the video gave its busiest street the tram treatment.
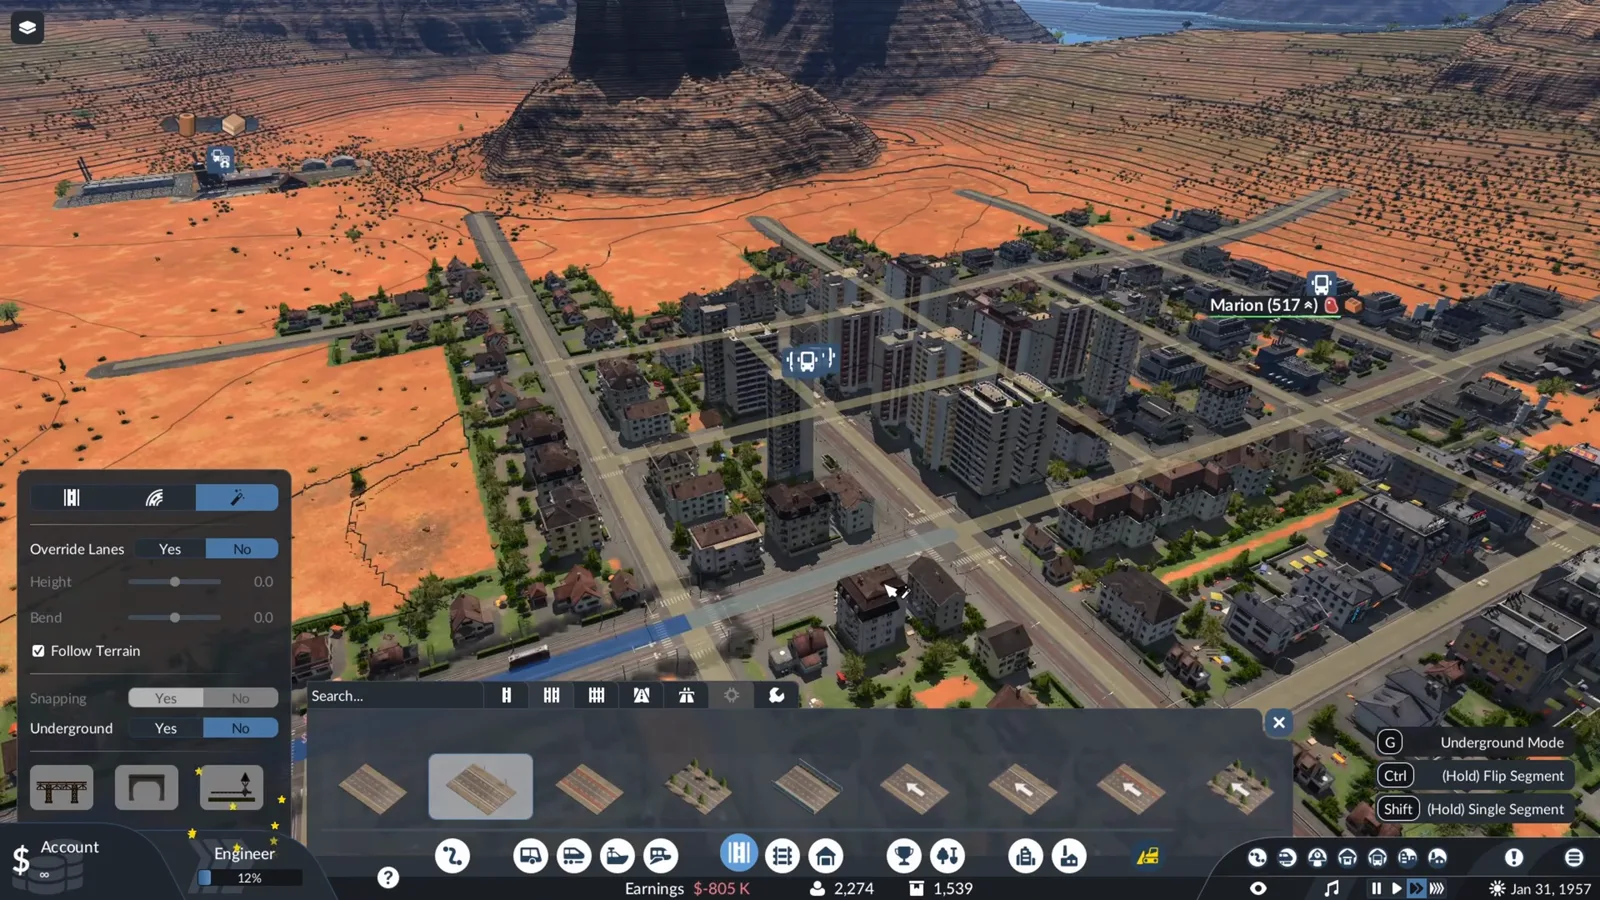
Same street, new rails underneath. Watch this step at 14:52 -
Pick tram stops on the road edge
Tram lines live on the road edges, not the center lanes — select the edge stop and check the direction arrows before closing the circuit. The numbered markers show the route the tram will take.
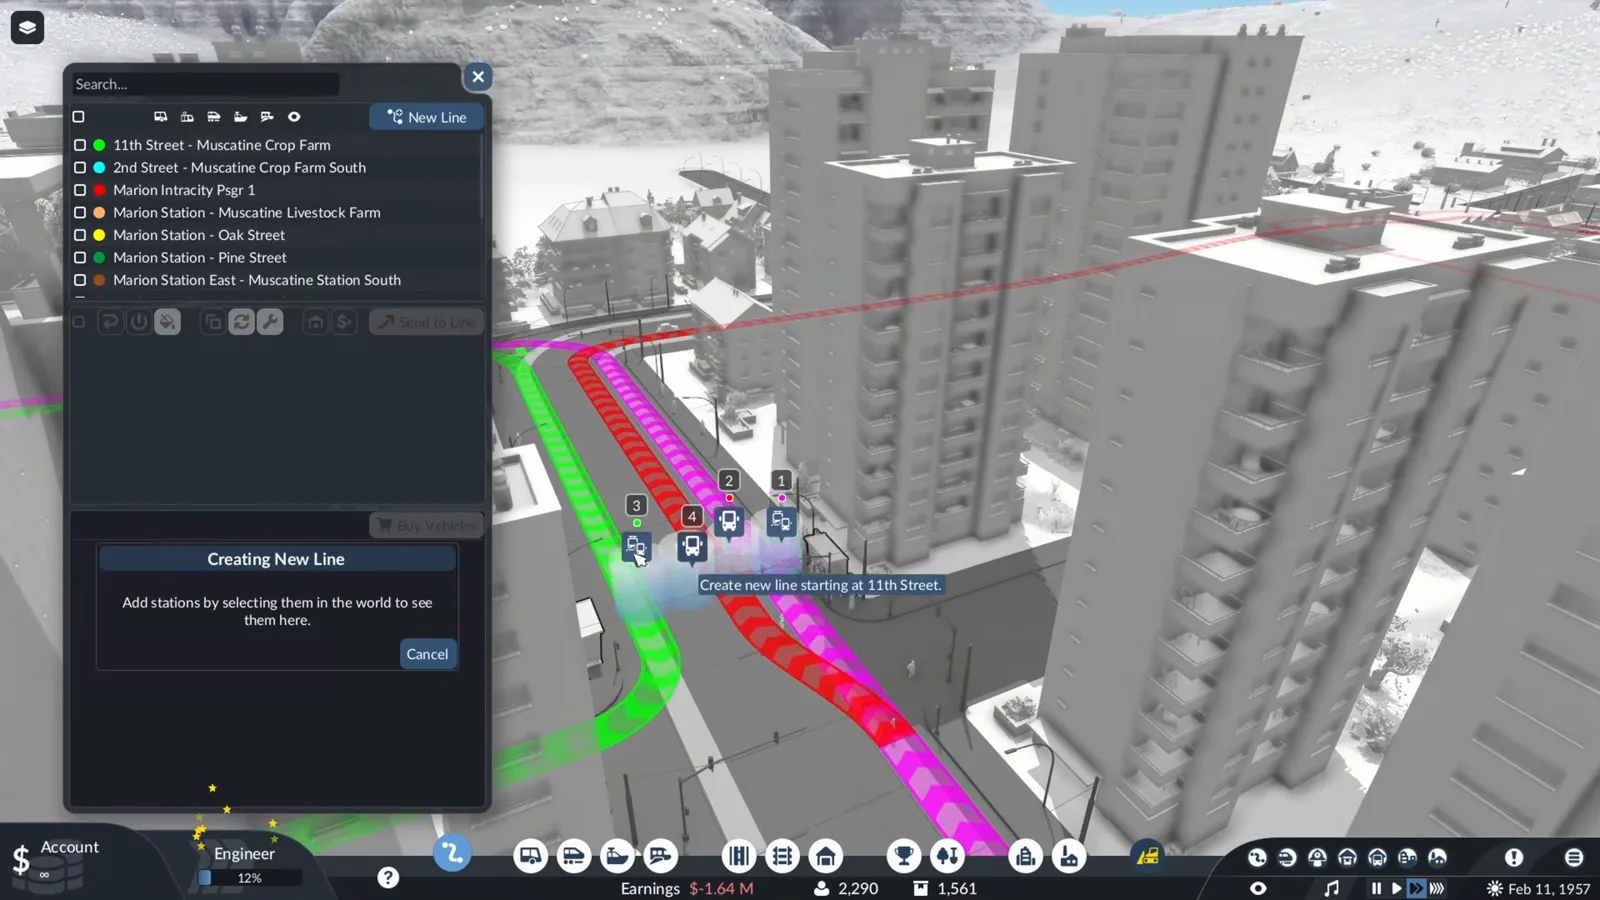
Edges, not centers — and mind the arrows. Watch this step at 15:15 -
Buy a quiet tram from the railcar list
The depot railcar tab filters to light rail, and the video picks a low-noise car for city duty. Engines can pull wagons too, but a single railcar keeps the first tram line simple.
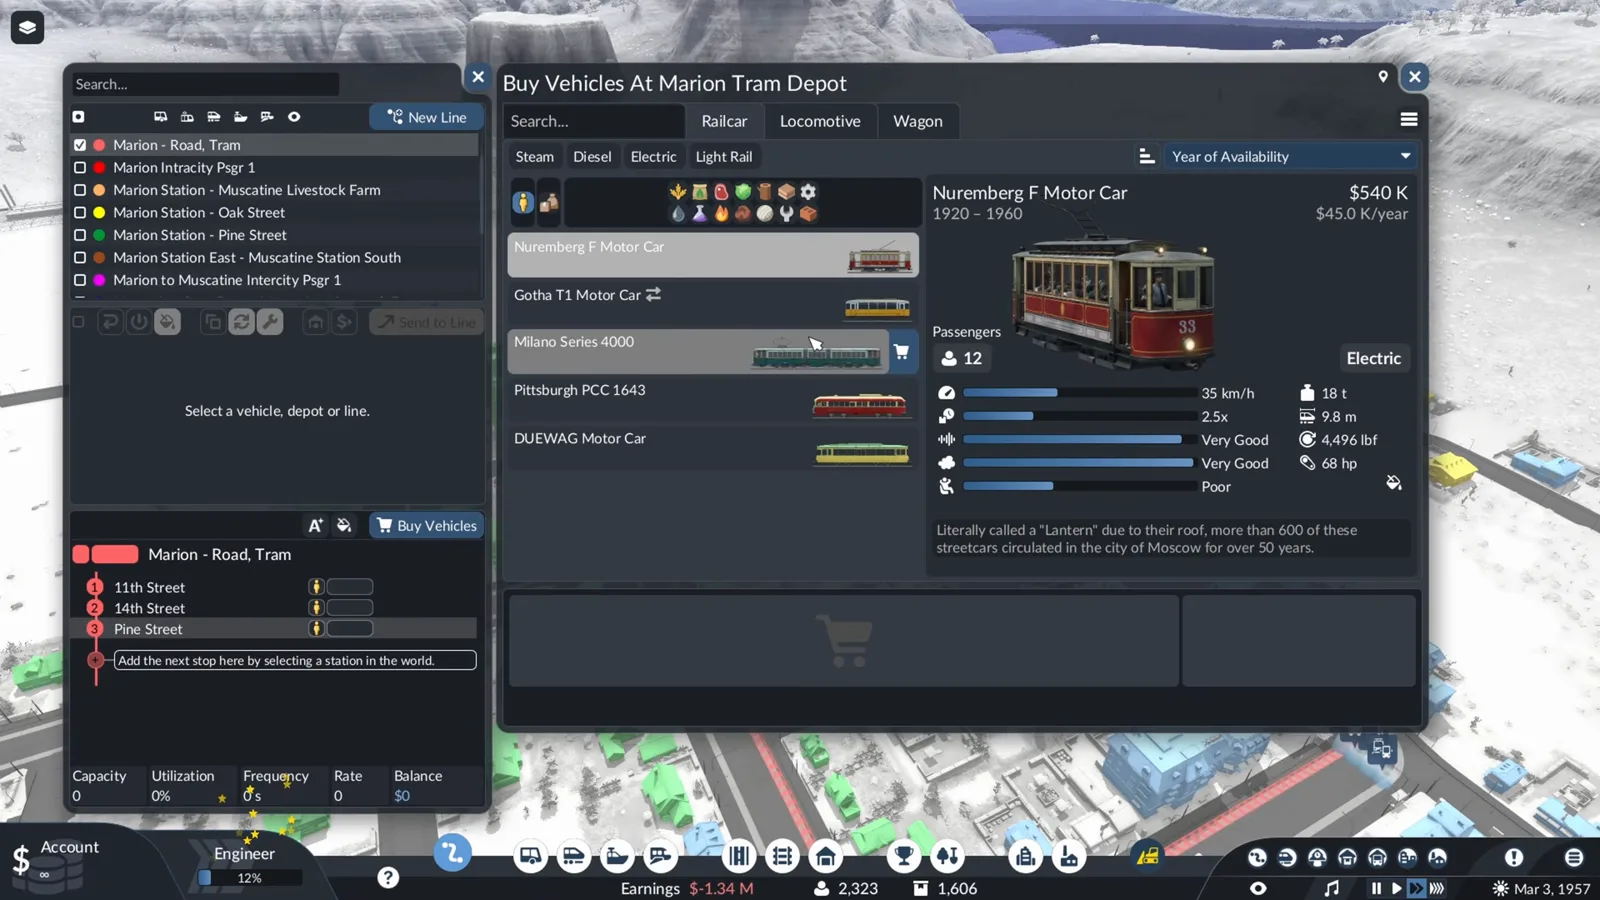
One railcar is a tram line. Watch this step at 15:55
Intercity work flips the priorities — capacity, speed, comfort — and adds one routing rule: around the town, not through it. Then the town grows up, and trams arrive the same way buses did: depot, line, stops on the road edges, a quiet vehicle from the railcar list. If you would rather tunnel the whole thing under the city, the underground subway guide takes the tram idea below street level, and the train signals guide covers what to do when your intercity line grows its own rail network.
Source
The walkthrough above is built from Lucy The Gamer’s video Transport Fever 3 Beginners Guide: Buses & Trams Setup (Stop Traffic Jams EARLY!) (17:21), which grows one desert town from a single intracity bus loop to trams among skyscrapers, with an intercity line in between. Each step links to the exact second it is demonstrated. Screenshots are the creator’s footage and are used only to illustrate the written steps.
Related reading
- Transport Fever 3 beginner guide — the first-hour basics behind every stop on the loop.
- Underground subway guide — the below-street version of the tram network.
- First train line guide — the rail version of this build, logging camp to town.
- Train signals guide — keeping the intercity line moving as traffic grows.
- Transport Fever 3 tips — twelve habits for the lines you build after this one.
- Vehicles guide — the buses and trams behind these buy windows.
Related Articles
guides
Transport Fever 3 First Train Line: A Step-by-Step Rail Guide
Build your first train line in Transport Fever 3 step by step: cargo station, catchment, double track, switches, path signals, loans and the right wagons.
guides
Transport Fever 3 vs 2: What Changed and Should You Upgrade?
Transport Fever 2 to 3 changes compared: biomes, day-night cycle, warehouses, helicopters, mods and price — plus an honest verdict on whether to upgrade.
guides
Transport Fever 3 Signals Guide: Block Logic, Loops and Junctions
How train signals work in Transport Fever 3: blocks, one-way vs two-way signals, passing loops, main-line spacing and a checklist for trains stuck at red.
Was this helpful?
Thanks for the feedback!